Showing posts with label beans. Show all posts

Thursday, February 3, 2011

Collages: A sticky topic


I used to have trouble finding the right type of glue for collages, and I wonder if others have had this trouble too.  If I gave them bottles of Elmer's glue it often would end up in puddle size blobs all over their paper- it would run, it would drip, it would spill over the edges as I took it to the paint rack, and in the end the collage "materials" would slide right off the edge with it.  Glue sticks didn't always keep things on the paper, especially weighty things like shells.  Paste was sometimes not the greatest to work with- stick materials to their fingers rather than their papers and not easily be moved to the papers, and would create globs all over their paste, that when dried looked like a clear version of  something that might come out of their noses.  (I apologize for the unpleasantness of that last statement, but it is true).
Finally, I came up with this idea:  I put Elmer's glue (we buy it in huge bulk containers) in paint cups for them and added a little liquid watercolor and paint brushes.


I put it on the table with whatever materials I had for collages. 


The materials above include mixed dried beans, buttons, colored pasta, scented rice, and a plate of sequins, beads, foam shapes, shells, little wood pieces, and other random things from the dark depths of the bottom of my collage bin.  Of course there are hundreds of options for collages; Although I really like to give them a variety of materials for them to use as they want to, it is very easy to do theme collages for theme type teachers; For Valentines day I recently saw some cute collages done with heart sequins, ribbons, heart buttons, and heart foam shapes.  (For instructions to make scented rice and colored pasta- see my entry here). 

 This truly has worked better than any glue substance that I have used yet.  I have been using it for about a year now.


They spread it over their paper in reasonable amounts (without any guidance) and it held everything to their papers.


Some of them actually use it like paint and then just put a little button here, a little paper there, but this also comes out looking very nice.


(Here is a picture of some voluntary sorting one of the kids was working on today that I couldn't resist putting up).


As far as clean up goes, soaking brushes and cups gets the glue off nicely, and works for the table too, although if you let the glue dry on the table it peels up in big pieces which can be fun- the kids always help me do that.

Enjoy!

Wednesday, February 2, 2011

"If it hasn't been in the hand, it can't be in the brain"


"If it hasn't been in the hand, it can't be in the brain."  Bev Bos

Here are some ideas to accomplish just that.  Most of these things can be used multiple ways- in and out of sensory bins, at home and in schools.  


#1: Mixed dried beans 
Last week we had beans in the sensory bin (actually there were peas and corn as well). This isn't really anything special, but it it really pretty and promotes sorting.  They were specifically fascinated by picking out the huge white lima beans. 

The mix of kidney beans, pinto beans, white lima beans, black beans, black eyed peas, split peas, and left over indian corn kernels make up this mix, but really any mixture of beans/ etc will do.  Below you can see there were spoons scoops and cups in the sensory bin but also sometimes ice trays or muffin tins can encourage sorting as well.


#2: Goop (also known as "Cloud Dough")
Last week we also made what my kids call "goop"- a concoction borrowed from Lisa Murphy, the Ooey Gooey Lady.   This mixture is made up of only two ingredients flour and baby oil- so you have double sensory smell and touch.  (I love the smell of baby oil).  
I let them help make the goop, they decided to have just slightly more runny than doughy.  

They also wanted to add a little blue.  


After a while they asked if we could have more goop in the sensory bin, so we made more- this time the "goop" was much more like dough.  


#3:  Moon Sand
Recently, a parent donated four small bags of Moon Sand with "Moon Sand toys" to our classroom.  While, yes, you can make really cool sensory things on your own or use just wet sand, Moon Sand is pretty cool, and versatile.  For anyone unfamiliar with it, it holds shape like wet sand and never dries out.  This Moon Sand came with some houses, a swing, some cars, and some people molds. They didn't care much about the swing or houses, but they (of course) loved the car, and also really loved the people molds. 


I put it out on box tops, (that we seem to have an abundance of), for easy set up and clean up.  They seem to enjoy it as a quiet activity.  This is also really great for any children that require sensory input. If he or she starts losing control I can just pop the top on the table and ask the child if he or she would like to play with Moon Sand (the answer is always yes).  For an "on the go" option, I can put it in a ziplock and stick it in my apron pocket, then when I need it I just hand the bag to the child and let him or her squeeze the bag.  It works for sensory input or as a transition activity.  


#4: Water, ice, snow


See entry here about water play.  There is really no end to what they can do playing with water in any form.  


#5:  Colored Noodles, Scented Rice


I took full advantage of the snow day today to create some new things for collages, mosaics, and our sensory bin.  


The scented rice idea came from this entry at teachpreschool.org. I modified it slightly, however.  In a bowl I mixed 2 packets of Koolaid with 3 teaspoons of boiling water and a teaspoon and a half of rubbing alcohol, until completely dissolved.  Next I put this liquid into a ziplock bag containing six cups of dry rice.  I mixed the rice and liquid completely.  Then I laid it out for four hours on wax paper before putting it in an air tight container. 


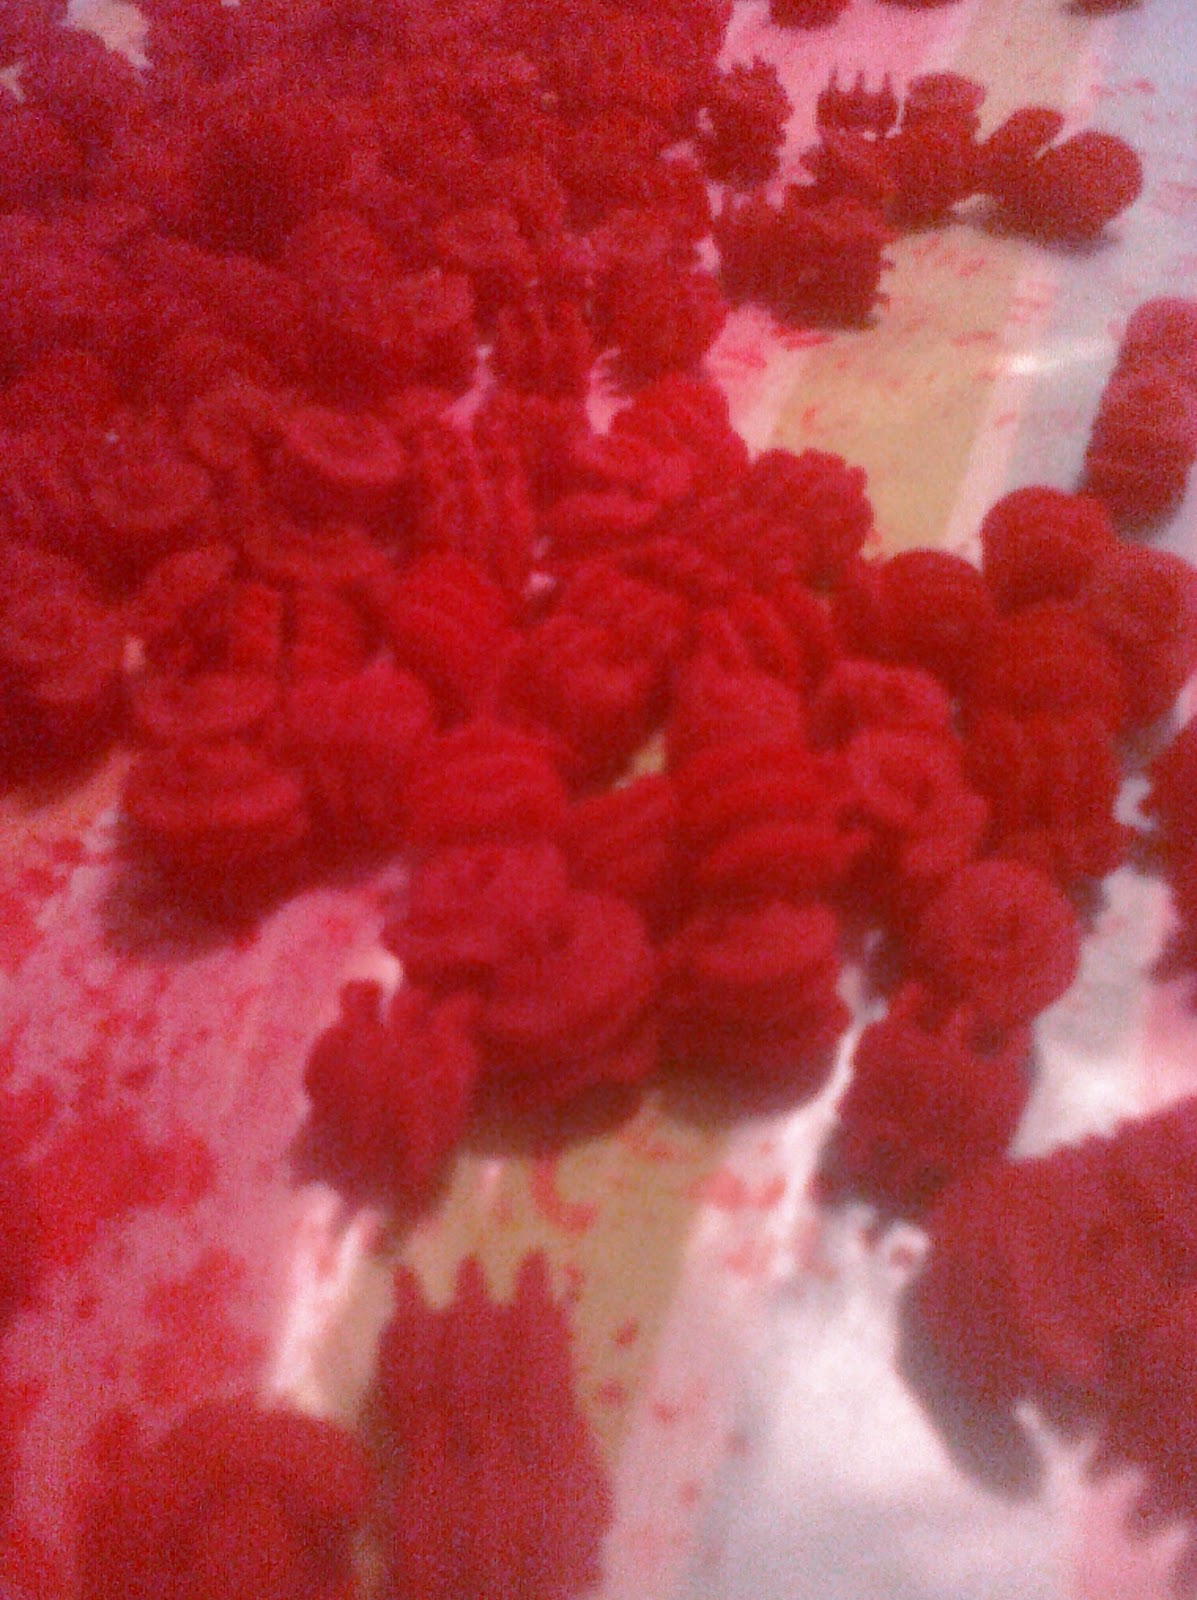
For the pasta I started with the instructions found here, but, again, modified it.  I used only a teaspoon of food coloring, and three teaspoons of rubbing alcohol, then added it to a ziplock bag containing 3 cups of pasta.  The instructions at the website above suggest that there should be more food coloring and less pasta, but as you can see below the pasta is quite dark and while they will lighten a bit when they completely dry, it will not be a lot.  


Purple mini rotinelle (wheels)
Green mini farfalle (bow ties)
mini orecchiette (shells)


Hot pink mini radiatori (nuggets)


Have fun and enjoy; I know we will.